How to flush your DNS Cache on Windows/Mac/Linux
One of the most common errors you will run into when failing to load your web site, shortly after changing any DNS settings such as the name servers, is related to your DNS cache. Your computer will cache (store) the old IP addresses or DNS records for the domain and if you then make changes, you may be stuck seeing the old version. This is referred to as the propagation period for DNS changes. One of the main culprits for this is changing name servers. You may find your domain stuck for 24-72 hours while these new name servers are picked up across the internet. You may be able to speed up this process by flushing the DNS cache on your local computer, although you may also need to restart your router to remove any cached DNS records in there as well, or swap to a different connection (eg tether to a mobile device, or activate a VPN).
In order to flush the DNS cache on your computer, please follow the steps below for your correct operating system.
For Windows
First, we need to get into the command prompt. To do this, hold down the Windows key and then press the letter R, and type "cmd" in the dialog box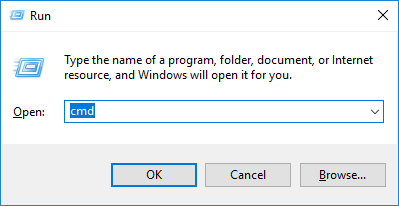
Click OK, and the command prompt will pop up in a new window.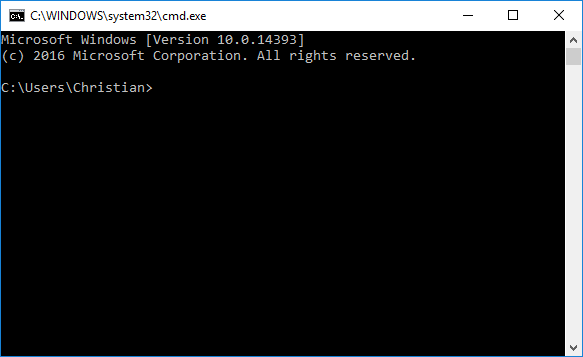
From here, enter following command: ipconfig /flushdns
Press the Enter key and you should see the following message in the prompt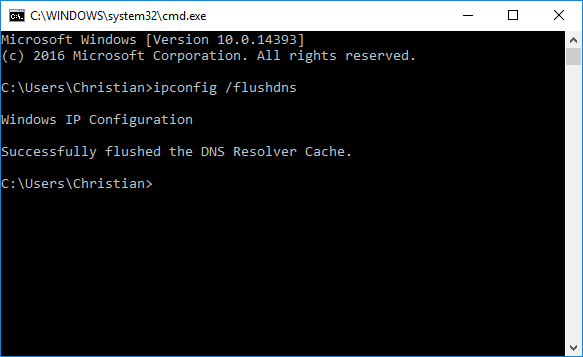
You have now successfully flushed your DNS cache. You might need to restart your computer in order for the changes to take full effect.
For Mac OS X
First, you want to open a new Terminal.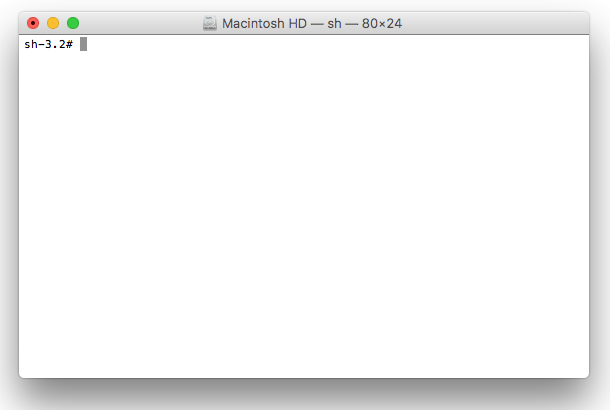
Once you are in the Terminal, type the following command depending on your OS X version;
– Mac OS X versions 10.10.4 and newer:
sudo dscacheutil -flushcache;sudo killall -HUP mDNSResponder
– Mac OS X versions 10.10-10.10.3:
sudo discoveryutil mdnsflushcache; sudo discoveryutil udnsflushcaches
– Mac OS X versions 10.9:
sudo killall -HUP mDNSResponder
– Mac OS X versions 10.6-10.8:
sudo dscacheutil -flushcache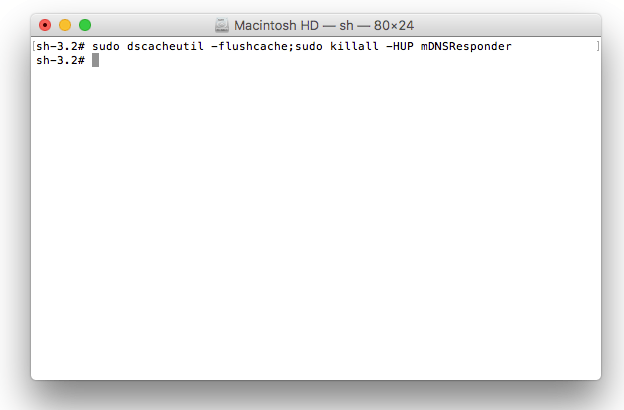
You have now successfully flushed your DNS cache. You might need to restart your computer in order for the changes to take full effect.
For Linux
First, you will need to open a new Terminal prompt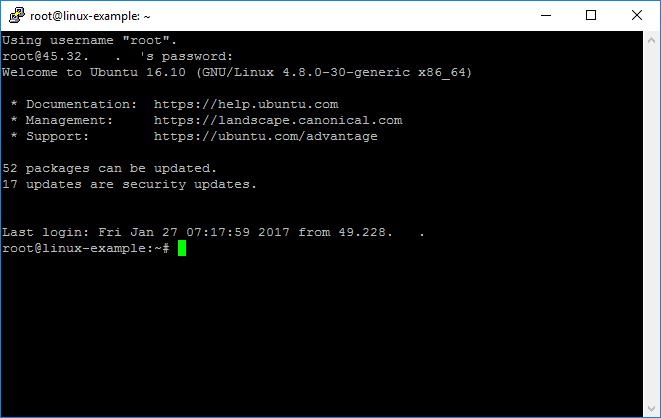
Once you are in the Terminal, you will want to be logged in as the root user (For this example, we already are).
To do so, type the following command and press Enter
su
After entering your password, the command prompt will change to:
root@host:
From here, we will now enter the command to flush the DNS cache.
/etc/init.d/nscd restart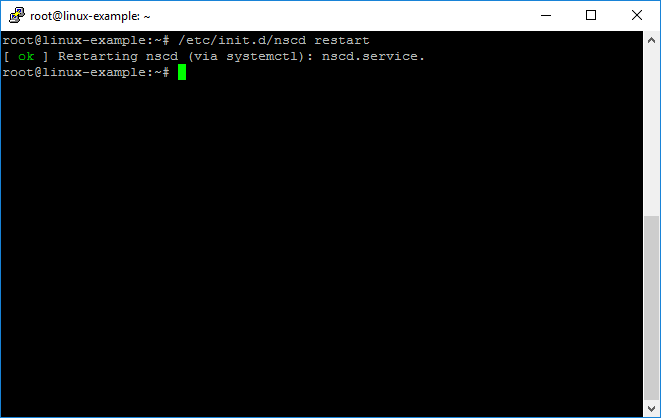
You have now successfully flushed your DNS cache. You might need to restart your computer in order for the changes to take full effect.
